Images
iMenuPro includes over 3,500 Artisan images that can be added to any menu.
Plus you can add any number of your own images, logos, or food photos to create your own image collection. Any image can be easily dragged to any spot on your menu and can be sized to any dimension. Artisan images can also be colorized.
Insert Image
To add an image (or picture) to your menu, use either the Insert > Artisan Image or Insert > Uploaded Image command. Once the Insert window appears, use the Browse button to find the image you want.
Adding Your Own Images
If you're adding your own images, you'll see a camera icon button which will let you upload images from your computer to your own image collection where they can be accessed at any time. The image collection lets you manage all of your uploaded images in one place so you can search for the image you need and use the same image on multiple menus without having to upload it each time.
Drag image to menu
You can also drag an image from your computer directly onto the menu.
View Your Uploaded Images
To find your logo or any image that you have uploaded yourself, use Insert Uploaded Image and then click Browse your Image Collection. The images you have uploaded will appear in a list where you can select them and add them to your menu.
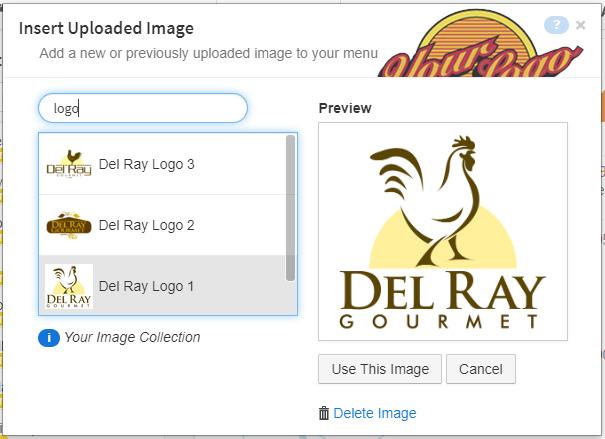
Delete an Image from your collection
To permanently delete an image from your image collection, find the image that you want to delete by using the Insert Uploaded Image command and then click Browse your Image Collection. The images you have uploaded will appear in a list where you can select them. Select the image you want to delete and then click the Delete Image trash can icon, and then confirm the deletion.
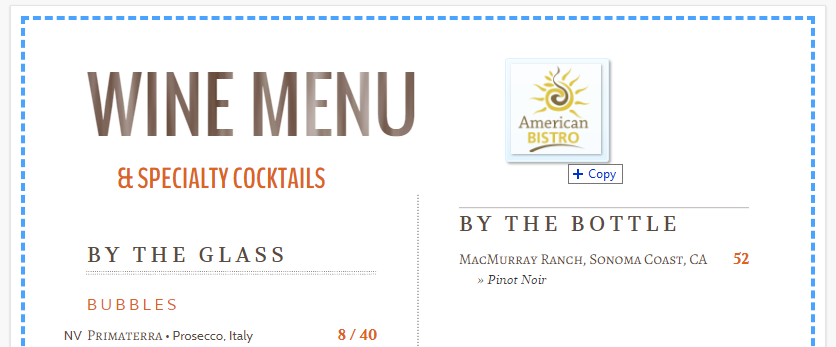
Positioning the Image
Once on your menu, simply drag the image where you want it positioned. To resize, wave your mouse over the resize icon (lower right corner) and click and drag (or Shift-click and drag to free-scale proportion). For more precise editing, or if you're on a tablet, click (or tap) the image to edit it's dimensions, orientation, rotation, and if it's an Artisan image, its color too.

Use Shift-Click + drag on the resize icon to resize without proportion
Tip! You can also attach your uploaded images to a specific food item. You'll lose flexibility on sizing and placement using this method, but when the food item moves the image will move with it. To do so, edit a food item and select the photo to attach in the photo box.
Options for Edit Image
The following options are available:
Maintain Proportion
Check this box if you want the size of the image to maintain its original proportions.
Width
The image's width.
Height
The image's height.
Left
The distance the image is from the left edge of your menu.
Top
The distance the image is from the top edge of your menu.
Rotation
The rotation angle of the image (use 0 or no for no rotation).
Flip (Artisan images only)
Check this box to flip the image vertically.
Mirror (Artisan images only)
Check this box to flip the image horizontally, creating a mirror image.
Colorize (Artisan images only)
You can change the color of some artisan images. Check this box and then choose a color. You can change the change the opacity of the images (lightness) also with the slider at the bottom of the color box. Note: If the original image has more than one color, this option applies a monochrome colorization to the image.
Lighten (Some Artisan and all Uploaded Images)
You can change the lightness of your uploaded logos, photos, pictures, or artwork to create your own background or watermark. To lighten an image, check this box and then choose a lightness value.
Browse (button)
The Browse button lets you browse the Artisan image collection or your own image collection. Upon clicking the Browse button you're presented with a list of either Artisan Images or Uploaded Images. (For Artisan Images there is an additional View button to view the various collections available. For both Artisan and Uploaded Images there's a Search box as well to help you find the image you're looking for.
On Menu
Uncheck this box and then click OK to remove the image from your menu.
Delete Image (Uploaded images only)
Permanently deletes an image from your image collection. (Clicking any uploaded image in your image collection will give you the option to delete it.) If this image appears on any menus, it will no longer appear on those menus after it's been deleted. To simply remove an image from the menu, use the On Menu button instead.
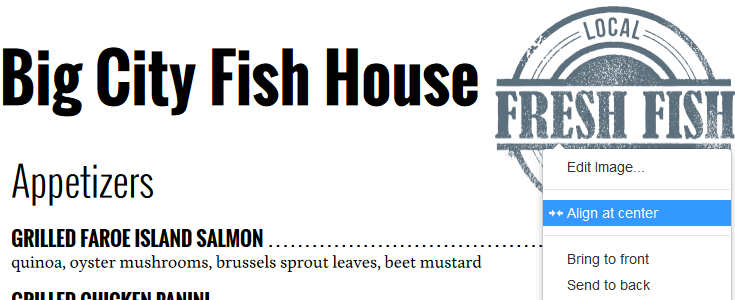
Tip! You can also RIGHT-CLICK the image to edit it, center it, change its display order (front to back), change the page it appears on, or remove it from your menu.
To remove an Image from the Menu
Click the image and uncheck the On Menu box. Or (if you're on a computer with a mouse) right-click the image and select Remove from menu or hover over the item with your mouse and click the X in the upper-right corner.
To clone an Image from an existing image on the Menu
Right-click the image and select Clone to create a duplicate image on the menu.
To make an Image appear on top of text
Right-click the image and select On top of text which will place image on top of text elements instead of underneath them.
Tip! If the menu text is cramping your style in regards to moving or placing images, just disable it by using View > Disable menu text. After your images are perfectly placed, you can re-enable the text using View > Enable menu text.