Create Door Hangers
Here's how to quickly create door hangers, 2 to a page, using iMenuPro:
- Start with a new blank menu using
File > New Menu - Use
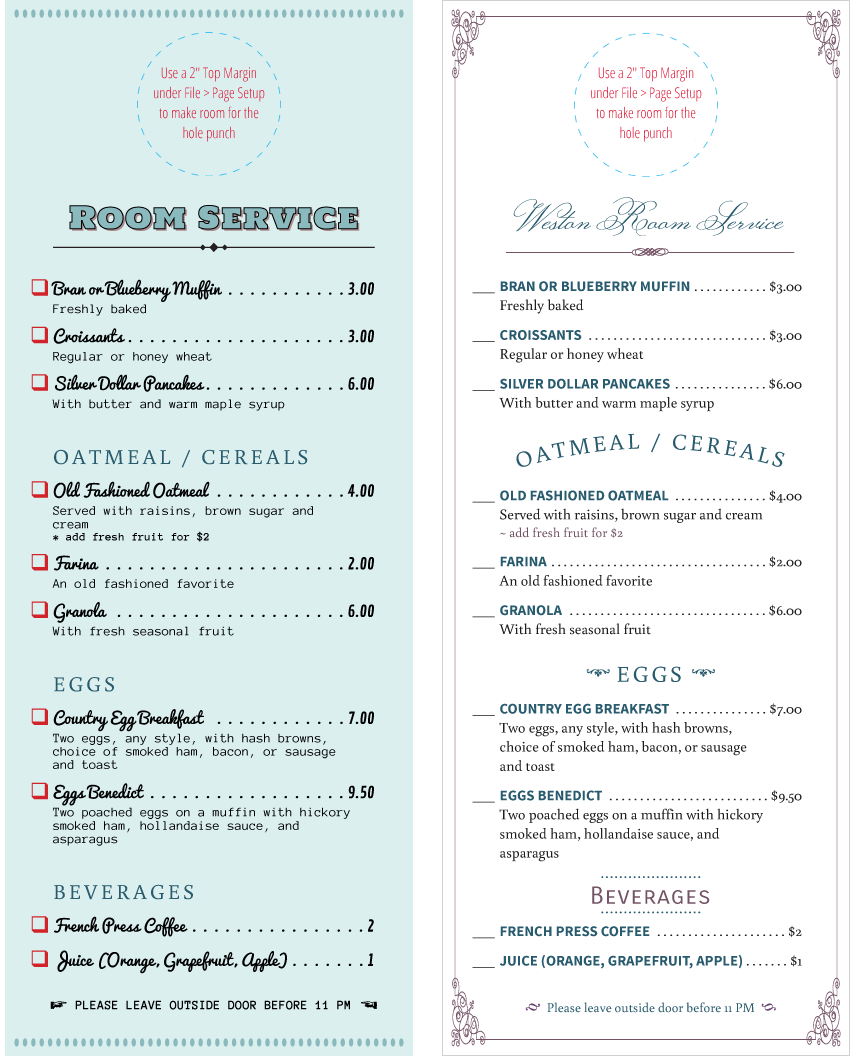
File > Page Setupand choosePaper Size > Customand enter a custom width of 4.25" and a custom height of 11" (you can vary these numbers depending on the hanger size you want). - Also on
Page Setupchange theTop Marginto 2" or more (enough room for a standard 1.5" hole punch). - To view approximately where the hole will be punched, use the Grid command,
View > Grid > Door Hanger > Show on Menu - Next, create your door hanger menu or flyer just like would any other menu.
- Rename and save your door hanger using
File > Rename MenuandFile > Save Menu. - When ready to print to PDF, create 2 door hangers per page using
Tools > Table Tent > 4-UP. For double-sided hangers make page 2 the back - that way your paper size, margins, and any style tweaks are already set. See our section on 2-sided printing HERE - Once printed, punch the top center hole using a 1.5" craft hole puncher available at most craft stores for around $10.
- Lastly, cut the notch using a pair of scissors, cutting from the top (or side) and into the hole area at a slight angle.

Tip! If you haven't yet added the Table Tent Creator to iMenuPro, go to Your Account > Add-ons